Nios II project
From Fpga4u
Now that your board is loaded and running with your previously created hardware, you can create a program (C/C++) and load it into the memory (RAM).
| With Quartus 10.0, the default software project management switched from the very slow Nios II IDE to the very fast Nios II 10.0 Software Build Tools for Eclipse. It could have been good news, but sadly this version is very unstable. This is why we suggest you to continue to use the Nios II 10.0 IDE, which can be found in the start menu in Altera/Nios II EDS 10.0/Legacy Nios II Tools/Nios II 10.0 IDE, until Altera fixes it. |
- Launch Nios II IDE
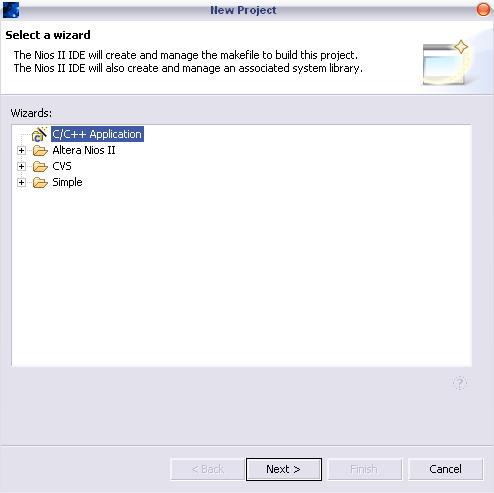
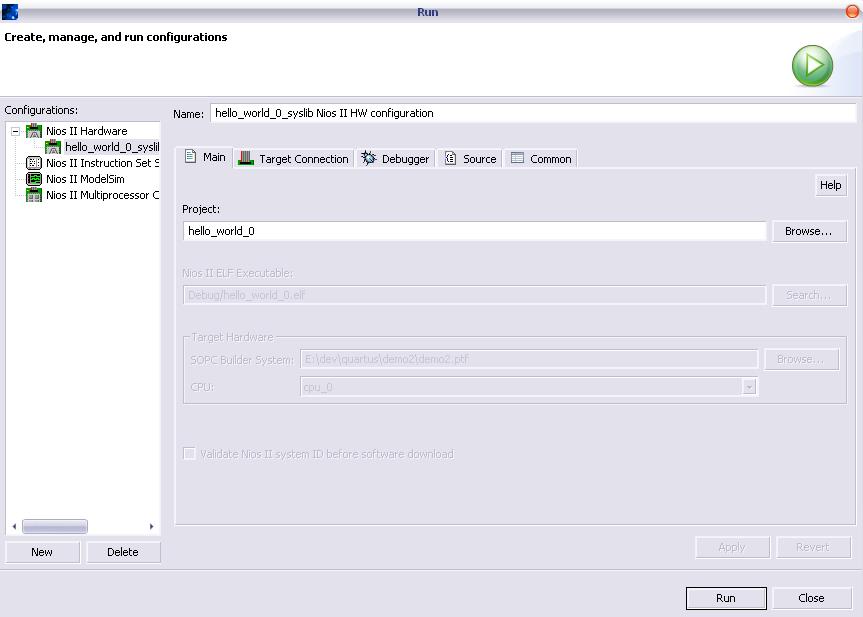
- Create a new project using the "Nios II C/C++ Aplication" wizard
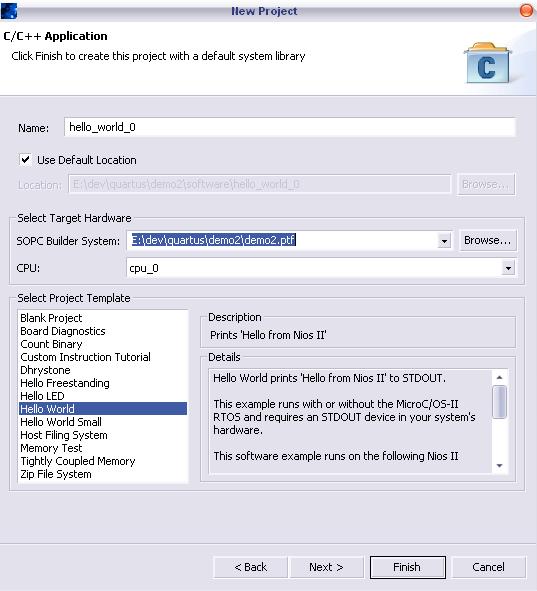
- Select a template (e.g. "Hello World") and set the correct hardware: the path to the SOPC Builder system must be the *.ptf file that you created at generate time with SOPC Builder
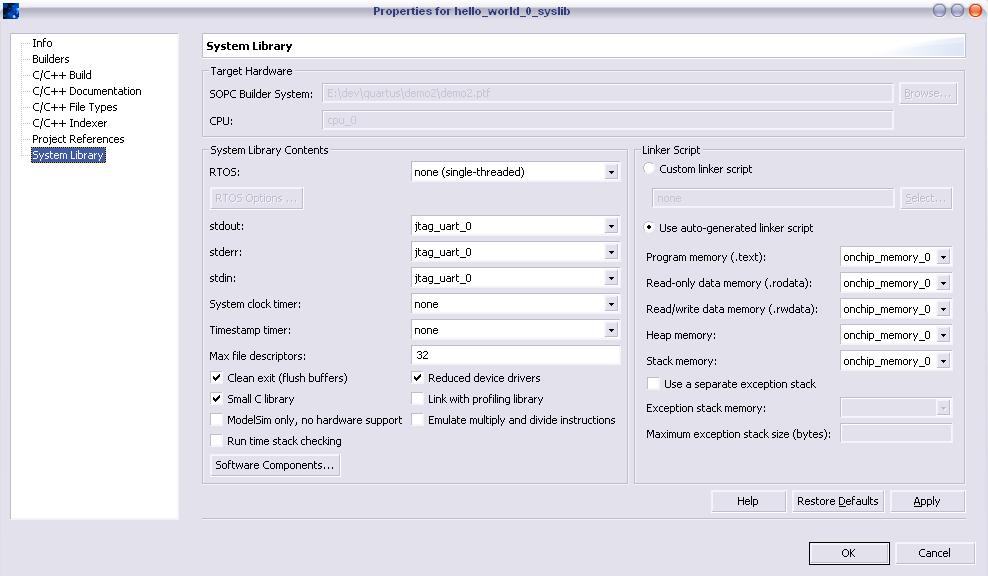
- Go to the project properties of the system librairies (right-click on "hello_world_syslib[proj_name]" -> Properties -> System Library) and select "small C library" and "reduced device drivers":
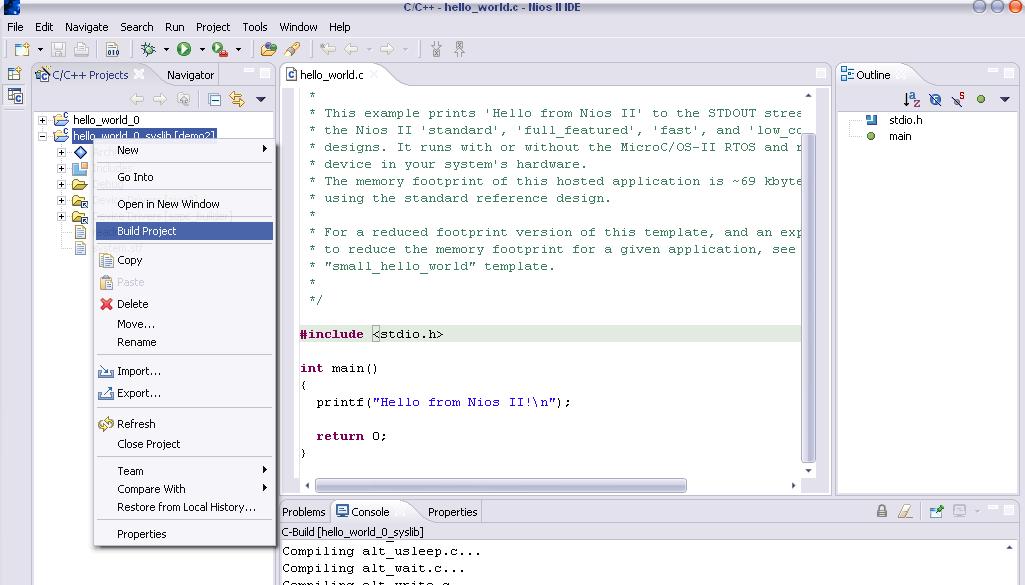
- Build the project
- Run the program (be sure to have connected your board)
- The execution should produce something like this:

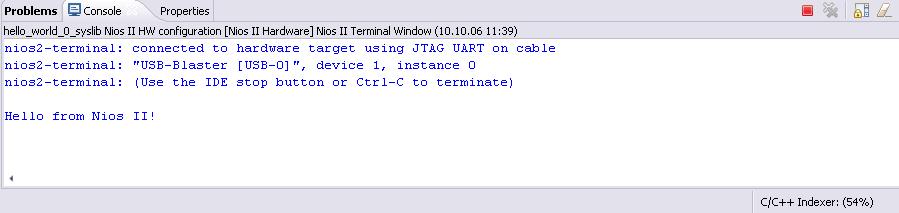
Well done! Your board is running your program. This was the minimum possible system to run a C-program on the fpga; if you want to add more hardware and to build more complex project, go to the "adding more elements" section: