SOPC Builder
From Fpga4u
In this section, you will learn to use Quartus II, SOPC Builder and Nios II IDE to create your own system including a processor and multiple peripheral and to run a program on it.
- The first step to achieve that is to create a Quartus project. Give it a correct name and save your workspace.
- Open SOPC Builder.

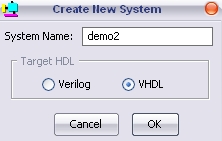
- At the prompt, enter a name for your system.

- SOPC Builder will help you to compose your own system with a large hardware library (memory interfaces, timers, communication interfaces, etc). In this introduction you will only use the least possible components:
- A CPU to execute your application.
- Some on-chip memory to store your application and data.
- A JTAG-Uart module to get some feedback.
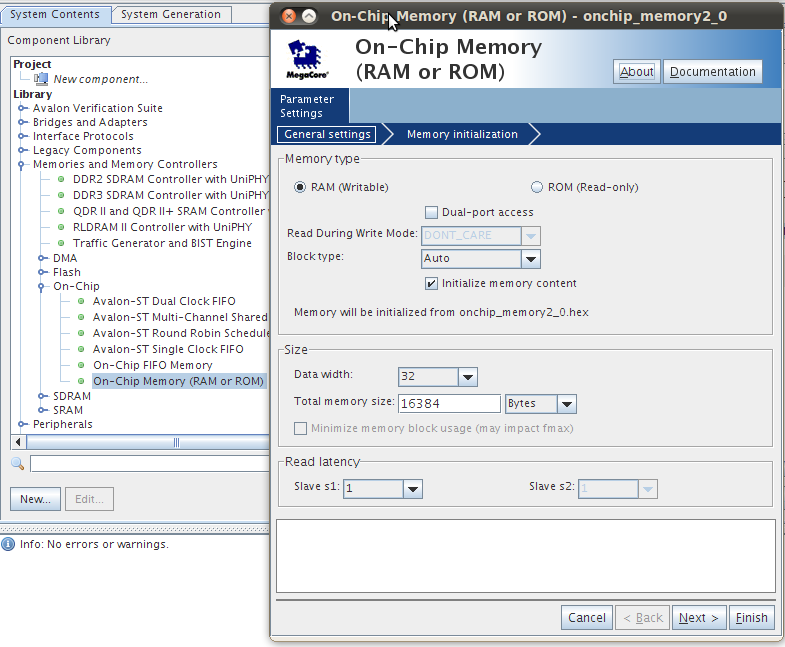
- Insert some on-chip memory by double clicking on Memories and Memory Controllers -> On-Chip -> On-Chip Memory (RAM or ROM). A configuration window will pop up. In this window set the memory size to 16KBytes and click on Finish.

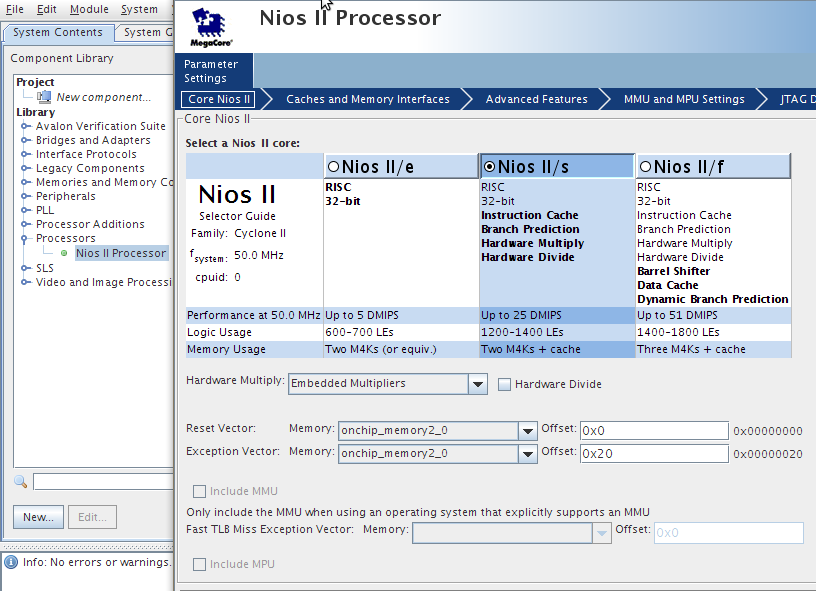
- Insert a Nios II processor (Processor -> Nios 2 Processor). In the configuration window, set the core type to Nios II/s, select the on-chip memory for the reset and exception vectors and click on Finish.

- Add a JTAG UART component (Interface Protocols -> Serial -> JTAG UART). In the configuration dialog, click on Finish.
- To avoid address overlapping, we will auto-assign the base addresses of our components. Click on System -> Auto-Assign Base Addresses.
- It is a good habit to specify what is the frequency of the external clock. Except if you are using a PLL it should be set to 24MHz.

- Generate your system