Quartus II project
From Fpga4u
Now that you have created your hardware, you will use it and test it on the FPGA4U board.
- Begin with creating a new project (you can follow this tutorial)
- Create a new Block Diagram
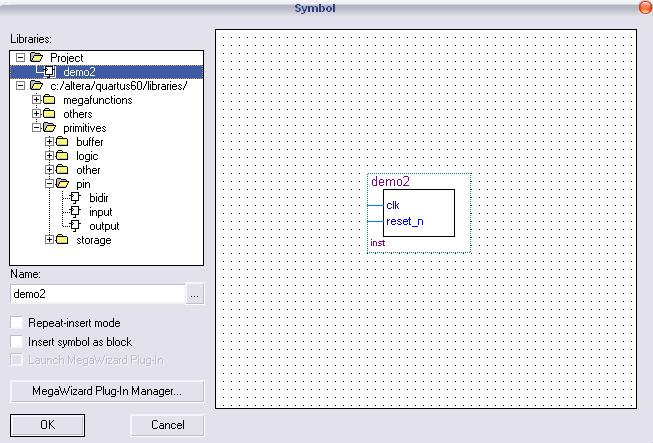
- Double-click to insert a new symbol. In the "Project" folder on the left frame you should see your new hardware. Select and insert it in your block diagram
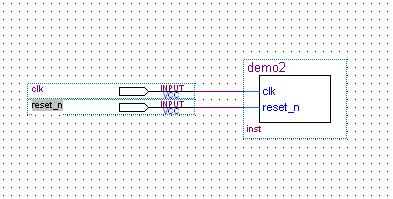
- Set inputs to your CPU.
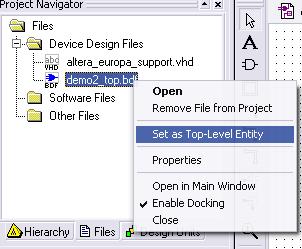
- Set your block diagram as the top-level entity
- Start analysis and correctly assign the pins
- After the assignment, your block diagram should appear like this:
- Compile the entire project and load it into the board (if necessary, look at this tutorial)


