Project creation
From Fpga4u
During all this tutorial you will work with an example allowing you to discover the main functionalities of Quartus and the FPGA4U board. The example is a 2-bits multiplier: the system takes two numbers (2 bits each) and returns the resulting multiplication (4 bits).
Quartus project
- Launch the Altera QuartusII software.
- Start the New Project Wizard by selecting File-->New Project Wizard.
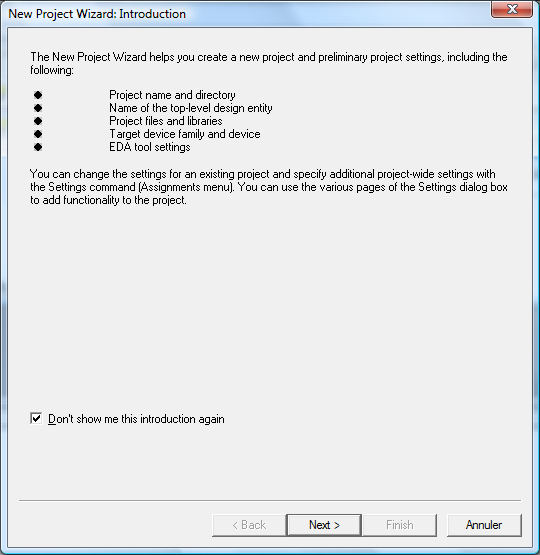
- If it is the first time that you execute this wizard you may see an introduction page. There is a check box that you can activate if you don't want to display it again.
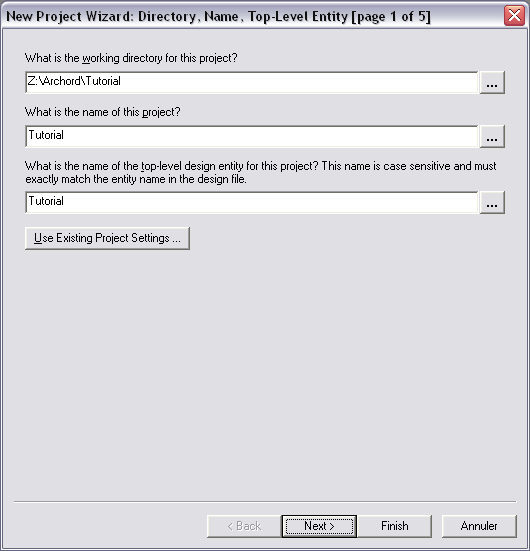
- Select a directory for your project and give it a name (e.g., Tutorial). Click the Next button to continue to the next step.
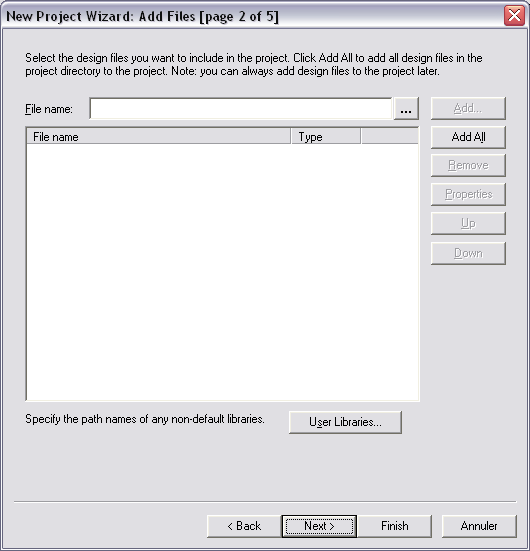
- This step allows you to add design files to the project. As we currently don’t have any, we can skip this step. Click the Next button.
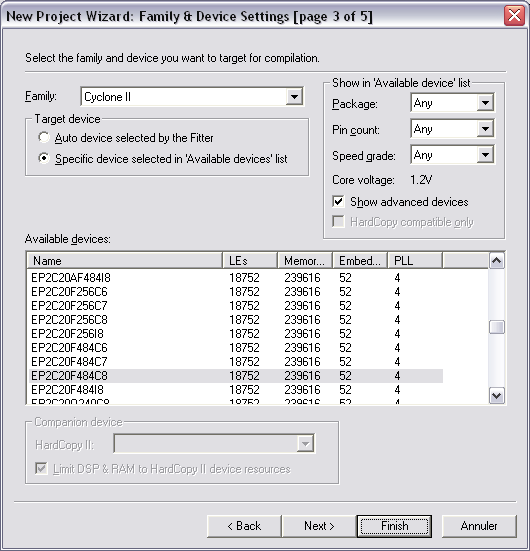
- In this page, we have to specify which FPGA device we will use.
- For the FPGA4U, in the Family field, select the Cyclone II family. In the Available devices list, select the EP2C20F484C8 device.
- For the DE0, in the Family field, select the Cyclone IV E family. In the Available devices list, select the EP4CE22F17C6 device.
- No changes are required in the next two pages. Click on the Finish button.
- The project is now created but we must verify some properties.
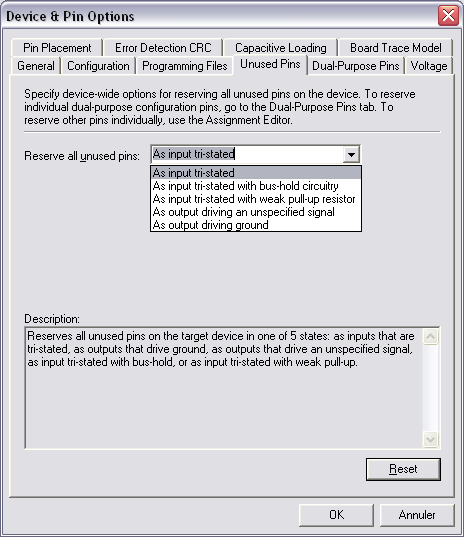
- Open the Device settings dialog (Assignments-->Device...) and click on the Device & Pin Options... button.
- Select the Unused Pins tab and, in the Reserve all unused pins field, make sure that As input tri-stated with weak pull-up is selected. This action specifies that, by default, all pins of the FPGA device will be in an electrically neutral state, so that no damage can arise to the peripherals connected to the FPGA board.
- Click OK twice to save the modifications and to return to the workspace.
Congratulations, you just created a project!
Links
[1] - a quick start guide up to the compilation phase (PDF)
